Congratulations on choosing VetSyCare for your veterinary practice management! This comprehensive guide will walk you through everything you need to know after your first login - from setting up your clinic profile to adding staff members, configuring inventory, and managing permissions.
By the end of this guide, your practice will be fully configured and ready to serve your patients.
Step 1: Your First Login
After signing up for VetSyCare, you'll receive a welcome email with your login credentials.
To log in:
- Visit vetsycare.com
- Click "Sign In" in the top navigation
- Enter your email address and password
- Click "Login"
💡 Tip: Bookmark the login page for quick access:
https://vetsycare.com/login
Upon successful login, you'll be greeted by your Dashboard - your command center for managing everything in your practice.
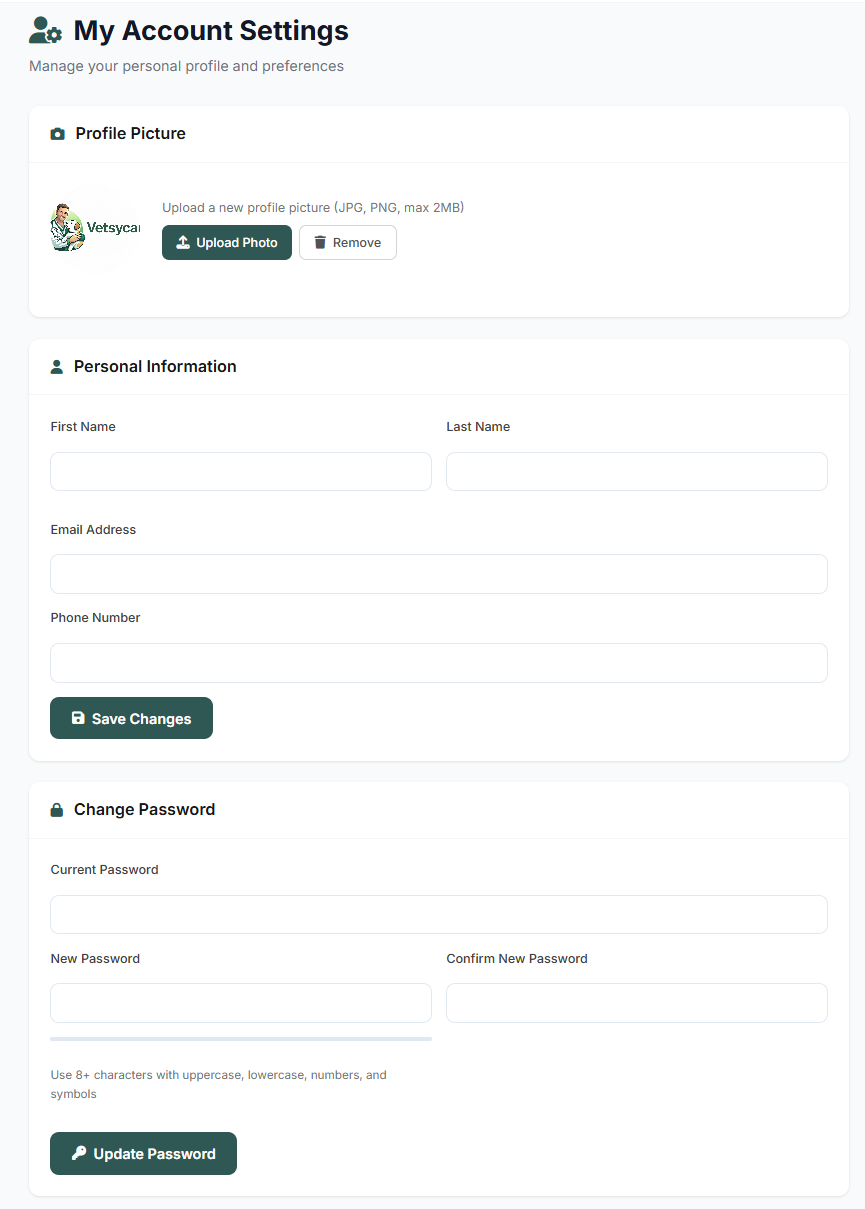
Step 2: Setting Up Your Clinic Profile
Your clinic profile contains essential information that appears on invoices, certificates, and client communications.
To configure your clinic profile:
- Click Settings in the left sidebar
- Select Clinic Profile
- Fill in your clinic information
- Click Save Changes
| Field | Description |
|---|---|
| Clinic Name | Your official business name |
| Legal Name | Registered business name (for invoices) |
| Primary contact email | |
| Phone | Main clinic phone number |
| Fax | Fax number (optional) |
| Website | Your clinic's website URL |
| Address | Complete street address |
| City, State, ZIP | Location details |
| Timezone | Your local timezone |
| Logo | Upload your clinic logo (recommended: 200x200px) |
| License Number | Your veterinary license |
| Tax ID | For billing purposes |
🏥 Best Practice: Upload a high-quality logo - it will appear on all client-facing documents including invoices, health certificates, and email communications.
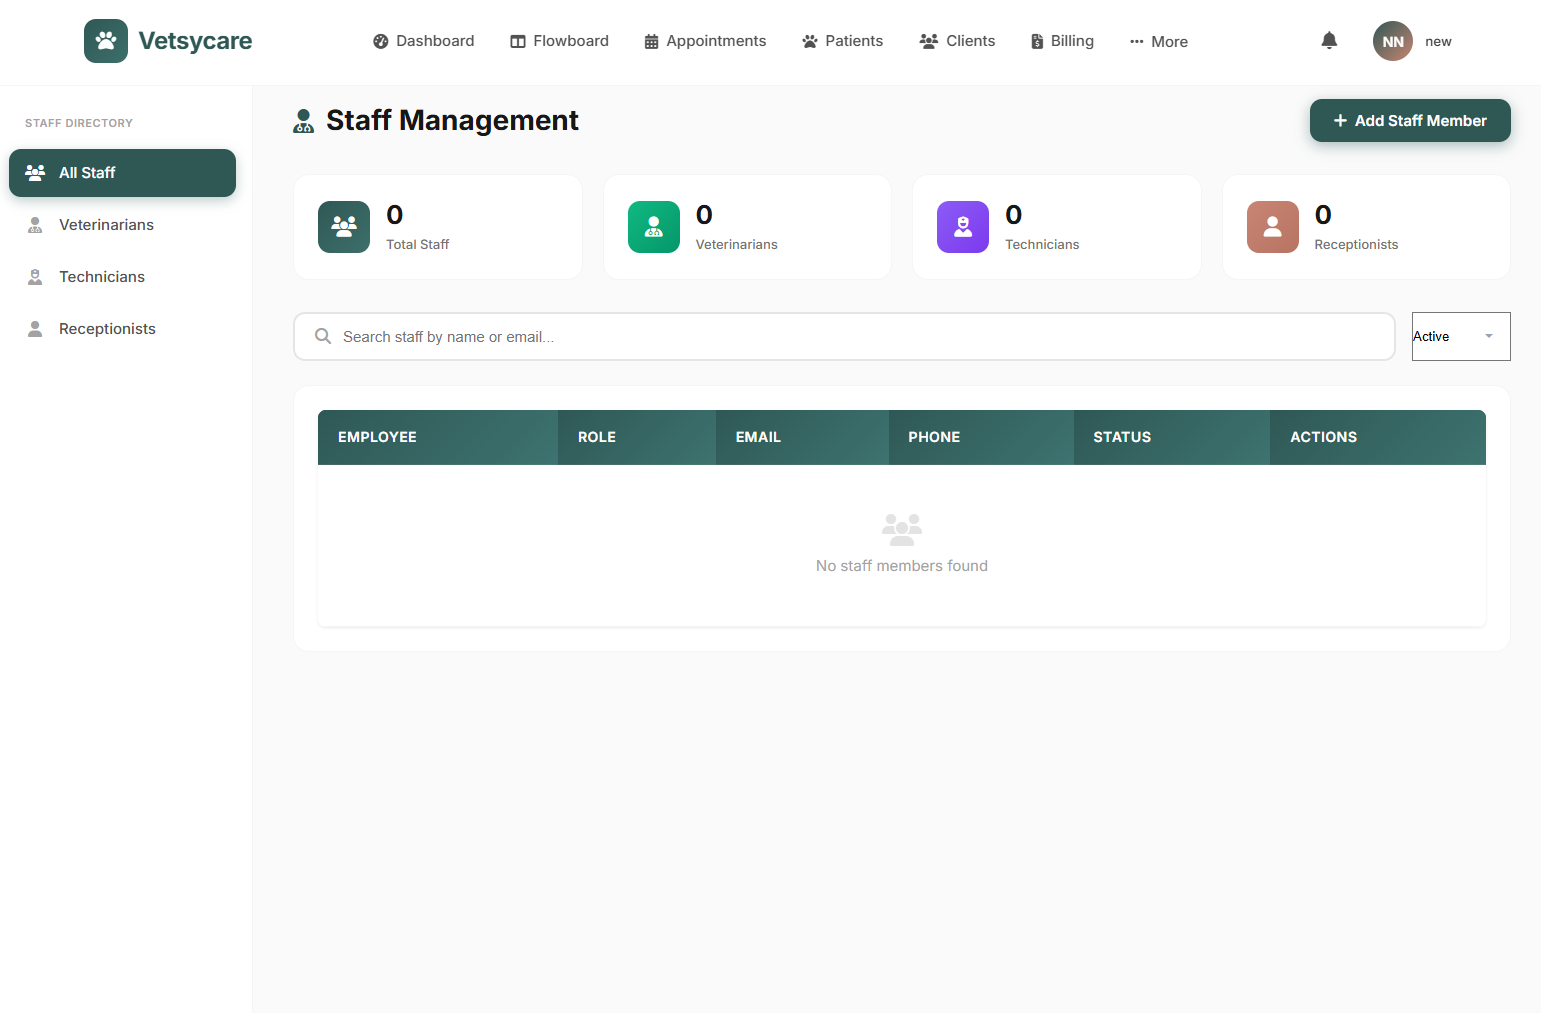
Step 3: Adding Staff Members
VetSyCare supports unlimited staff accounts. Each team member gets their own login with role-based access.
To add a new staff member:
- Navigate to Staff in the sidebar
- Click + Add Staff Member
- Enter staff details:
- First Name & Last Name
- Email Address
- Phone Number
- Role (see roles below)
- Permissions (customizable)
- Click Create Account
The staff member will receive an email invitation to set their password.
Step 4: Understanding Staff Roles & Permissions
VetSyCare offers flexible role-based access control to ensure each team member sees only what they need.
Available Roles:
| Role | Description | Default Access |
|---|---|---|
| Admin | Full system access | Everything |
| Veterinarian | Clinical & patient management | Patients, Medical Records, Appointments, Prescriptions |
| Technician | Support clinical operations | Patients, Appointments, Flowboard, Inventory |
| Receptionist | Front desk operations | Appointments, Clients, Billing, Check-in |
Customizing Permissions:
Each role's permissions can be customized. Available permission modules:
- ✅ Dashboard - View practice overview
- ✅ Flowboard - Daily patient workflow
- ✅ Appointments - Schedule management
- ✅ Patients - Patient records
- ✅ Clients - Client management
- ✅ Medical Records - Clinical documentation
- ✅ Billing - Invoices & payments
- ✅ Inventory - Stock management
- ✅ Communications - Email
- ✅ Reports - Analytics & reports
- ✅ Settings - System configuration
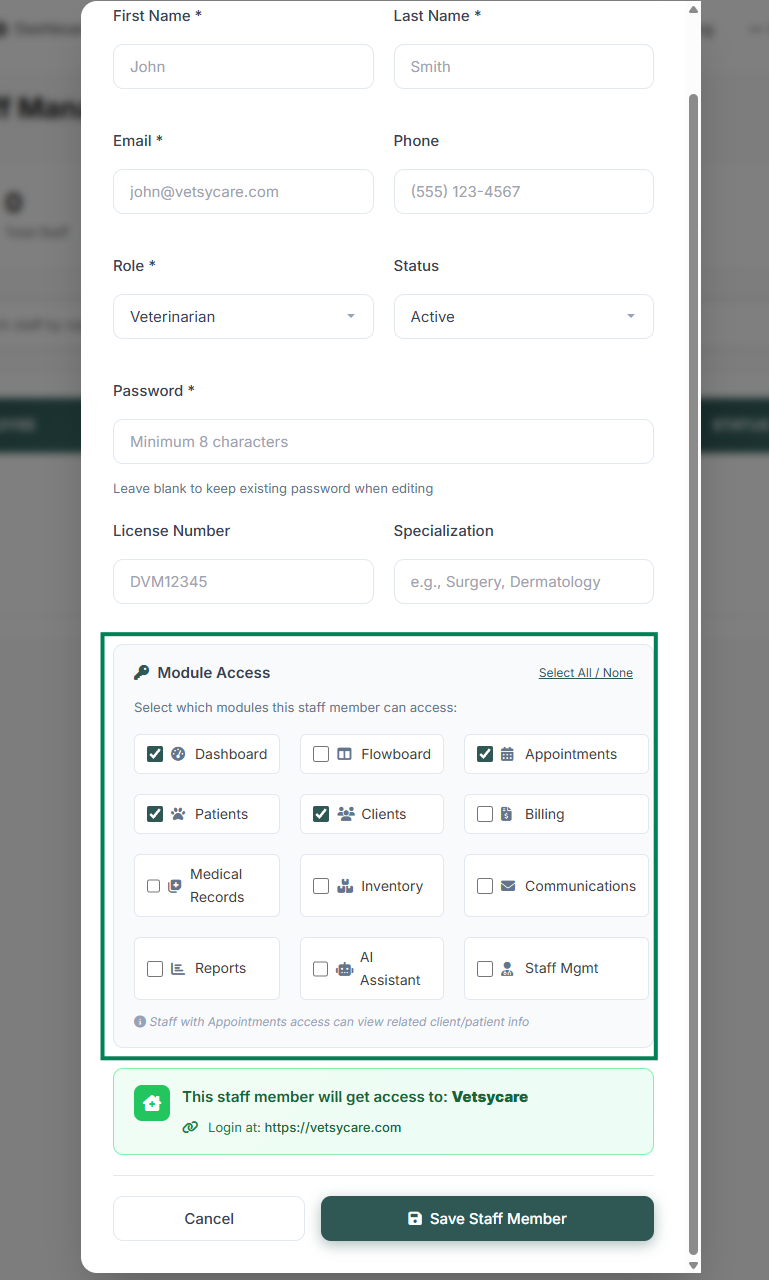
To modify permissions:
- Go to Staff → Click on staff member
- Scroll to Permissions section
- Check/uncheck modules as needed
- Click Update Permissions
🔒 Security Tip: Follow the principle of least privilege - give staff only the access they need to perform their job.
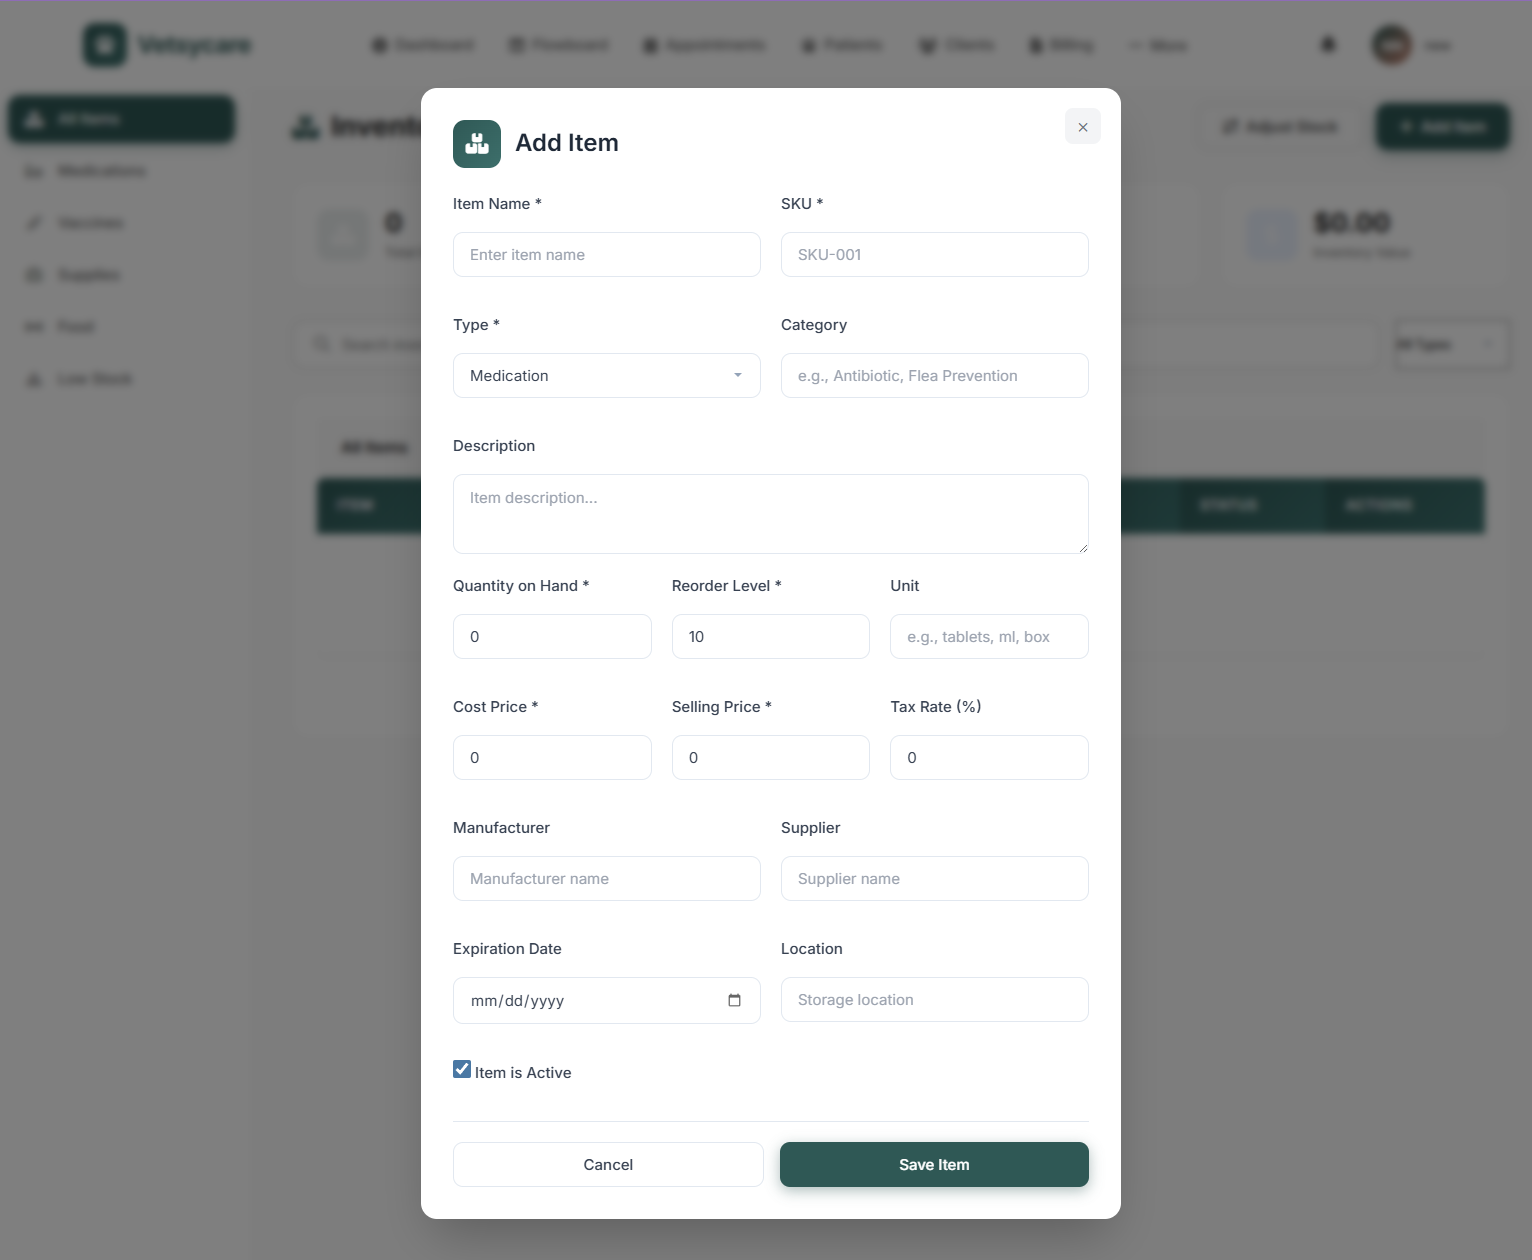
Step 5: Setting Up Inventory Management
Track medications, supplies, and products with VetSyCare's built-in inventory system.
To set up your inventory:
- Navigate to Inventory in the sidebar
- Click + Add Product
- Enter product details
- Click Save Product
| Field | Description |
|---|---|
| Product Name | Name of medication/supply |
| SKU/Code | Unique identifier |
| Category | Medication, Supplies, Food, etc. |
| Unit | Bottle, Box, Each, ml, etc. |
| Current Stock | Quantity on hand |
| Reorder Level | Alert threshold |
| Cost Price | Your purchase price |
| Selling Price | Client price |
| Supplier | Vendor information |
| Expiry Date | For medications |
Low Stock Alerts:
VetSyCare automatically alerts you when products fall below the reorder level:
- 🔴 Critical - Out of stock
- 🟠 Low - Below reorder level
- 🟢 Good - Adequate stock
📦 Pro Tip: Set up your top 20 most-used items first, then add others as you use them. This gets you operational quickly.
Step 6: Quick Setup Checklist
Use this checklist to ensure your clinic is fully configured:
- Clinic Profile - Logo, name, address, contact info
- Staff Accounts - All team members added with correct roles
- Permissions - Each role has appropriate access
- Inventory - Essential products and medications added
- Appointment Types - Consultation, Surgery, Vaccination, etc.
- Working Hours - Clinic schedule configured
- Notification - Automated Emails to Client will be sent set
- Invoice Template - Clinic details for billing
You're Ready to Go!
Your VetSyCare practice is now fully configured. Here's what to explore next:
- Add Your First Patient - Start building your patient database
- Schedule Appointments - Learn the appointment system
- Dashboard Overview - Master your command center
Need Help?
Our support team is here for you:
- 📧 Email: support@vetsycare.com
- 💬 In-App Chat: Click "Admin Support" in your dashboard
- 📚 Help Center: vetsycare.com/help
Happy practicing! 🐾